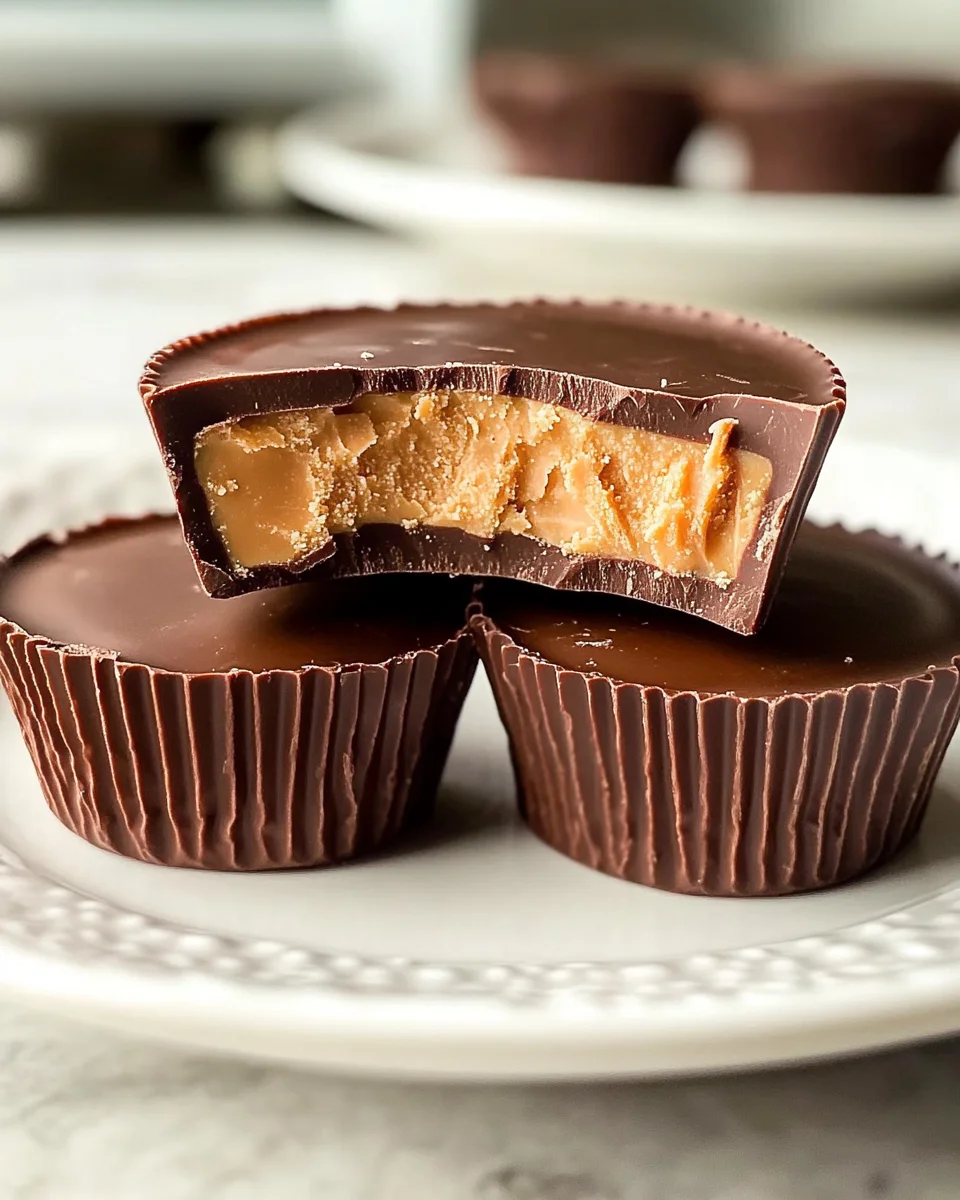
Classic Homemade Reese’s
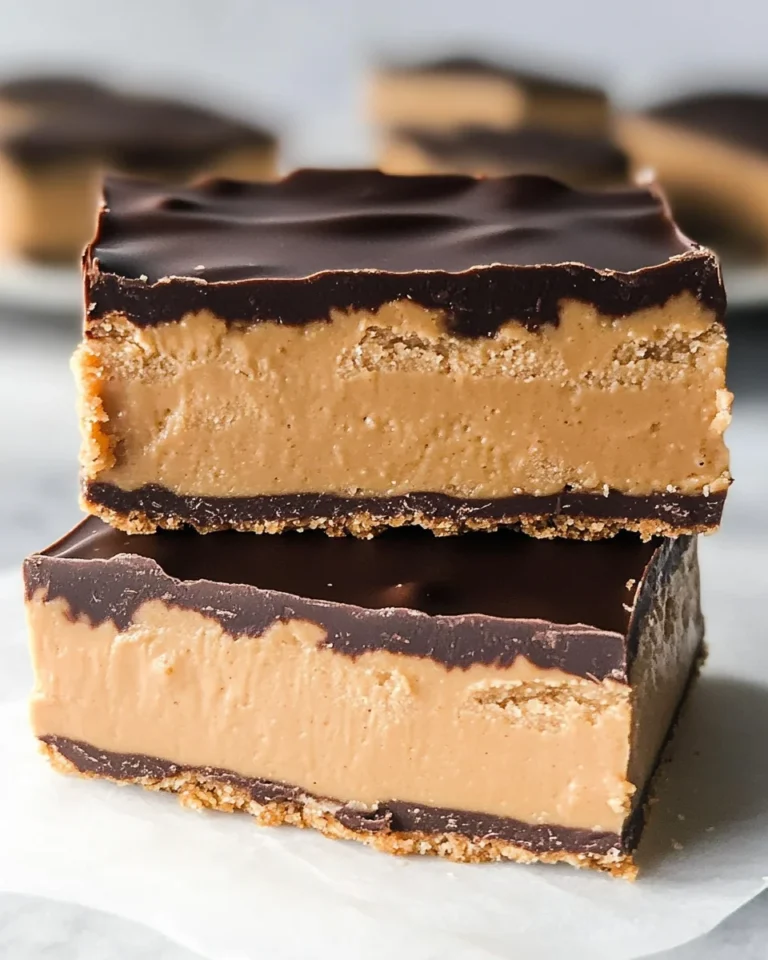
Classic Homemade Reese’s are the perfect treat for candy lovers. With a creamy peanut butter filling and a rich milk chocolate coating, these delightful candies can brighten any occasion. Whether you’re celebrating a birthday, hosting a party, or simply indulging yourself, this easy and delicious recipe is sure to please. The combination of flavors and textures in Classic Homemade Reese’s makes them stand out, providing a homemade touch that store-bought versions can’t match.
Why You’ll Love This Recipe
- Quick to Prepare: With just 15 minutes of prep time, you can whip up these treats in no time.
- Versatile Serving Options: Enjoy them as bite-sized snacks or serve them at gatherings for everyone to share.
- Simple Ingredients: Made with common pantry staples like peanut butter and chocolate, they’re accessible for anyone to make.
- Customizable: Feel free to experiment with different chocolate types or add toppings like sprinkles or sea salt.
- Kid-Friendly Fun: Involve the kids in rolling the peanut butter balls—it’s a great way to bond while having fun in the kitchen.
Tools and Preparation
Before diving into making your Classic Homemade Reese’s, gather the necessary tools. Having everything ready will streamline your cooking process and ensure success.
Essential Tools and Equipment
- Mixing bowl
- Rubber spatula
- Measuring cups
- Muffin liners (optional)
- Double boiler or microwave-safe bowl
Importance of Each Tool
- Mixing bowl: A good mixing bowl is essential for combining your ingredients smoothly.
- Rubber spatula: This tool helps you scrape down the sides of the bowl effectively, ensuring no ingredients are left behind.
- Muffin liners: Using muffin liners makes it easy to shape and remove your candies without mess.
Ingredients
For the Peanut Butter Filling
- 1 cup creamy peanut butter
- 1/4 cup unsalted butter, softened
- 1 teaspoon vanilla extract
- 2 cups powdered sugar
For the Chocolate Coating
- 2 cups milk chocolate chips
- 1 tablespoon coconut oil (optional)
How to Make Classic Homemade Reese’s
Step 1: Make the Peanut Butter Mixture
- In a mixing bowl, combine creamy peanut butter, unsalted butter, and vanilla extract. Mix until smooth.
- Gradually add in powdered sugar, stirring until the mixture is firm enough to hold its shape.
Step 2: Shape Your Candies
- Roll the mixture into 1-inch balls or press it into mini muffin liners.
- Place your shaped candies in the refrigerator to chill while you prepare the chocolate coating.
Step 3: Melt the Chocolate
- In a double boiler or microwave-safe bowl, combine milk chocolate chips with coconut oil.
- Heat gently until melted and smooth, stirring frequently to avoid burning.
Step 4: Coat Your Peanut Butter Balls
- Remove the chilled peanut butter balls from the fridge.
- Dip each ball into the melted chocolate using a fork, ensuring they are fully coated.
- Place them on a piece of parchment paper to cool.
Step 5: Let Them Set
- Refrigerate the coated candies for about 20–30 minutes until the chocolate has completely set.
Step 6: Serve and Enjoy!
Once set, your Classic Homemade Reese’s are ready! Enjoy these delightful treats on their own or share with friends and family for an extra special touch!
How to Serve Classic Homemade Reese’s
Classic Homemade Reese’s are a delightful treat that can be enjoyed in various ways. Whether you want to impress guests or simply indulge yourself, here are some serving suggestions that will elevate your candy experience.
At a Party
- Candy Buffet: Create a colorful display of Classic Homemade Reese’s among other sweets for an inviting candy buffet.
- Dessert Platter: Arrange the candies on a platter with fruits and cookies for a diverse dessert selection.
With Ice Cream
- Ice Cream Sundae: Top your favorite ice cream flavor with chopped Classic Homemade Reese’s for an extra layer of flavor.
- Milkshake Mix-In: Blend pieces of the candy into your milkshake for a rich and creamy treat.
As a Gift
- Gift Boxes: Present Classic Homemade Reese’s in decorative boxes as homemade gifts for friends and family.
- Party Favors: Wrap individual candies in clear bags tied with ribbons for festive party favors.
With Coffee or Tea
- Coffee Companion: Pair these candies with your morning coffee for a sweet start to the day.
- Afternoon Tea Treat: Enjoy them alongside tea during afternoon gatherings for a cozy touch.
How to Perfect Classic Homemade Reese’s
To make your Classic Homemade Reese’s even better, consider these helpful tips. They will enhance both the flavor and texture of your treats.
- Use High-Quality Chocolate: Opt for premium chocolate chips to achieve a richer taste and smoother texture.
- Chill Ingredients: Keep peanut butter and butter chilled before mixing to achieve the right consistency.
- Experiment with Flavors: Try adding different extracts like almond or hazelnut for unique flavor twists.
- Adjust Sweetness: Modify the amount of powdered sugar based on your sweetness preference; less sugar gives a more balanced taste.
- Store Properly: Keep your candies in an airtight container to maintain freshness for longer periods.
- Make Different Shapes: Instead of balls, try pressing the mixture into fun shapes using cookie cutters.
Best Side Dishes for Classic Homemade Reese’s
While Classic Homemade Reese’s are fantastic on their own, pairing them with complementary side dishes can create a well-rounded dessert experience. Here are some delicious options to consider:
- Fresh Fruit Salad: A mix of seasonal fruits adds freshness that balances the richness of the candies.
- Cheese Platter: Serve assorted cheeses alongside the candies for a sweet and savory combination.
- Chocolate-Covered Strawberries: Enhance the chocolate theme by serving these delightful treats next to your homemade Reese’s.
- Vanilla Yogurt Parfait: Layer yogurt, granola, and pieces of candy for a fun and healthy dessert option.
- Cookies and Cream Dip: A creamy dip made from crushed cookies pairs perfectly with the chocolatey goodness of the candies.
- Nutty Trail Mix: Provide a crunchy trail mix as an alternative snacking option that complements the peanut butter filling.
Common Mistakes to Avoid
Making Classic Homemade Reese’s can be a delightful experience, but some common mistakes can lead to less-than-perfect results. Here are a few to watch out for:
- Skipping the chilling step: Failing to chill the peanut butter mixture can make it difficult to shape and dip in chocolate. Ensure you chill the balls or mixture for at least 30 minutes.
- Using low-quality chocolate: Low-quality chocolate can ruin the flavor of your candy. Choose good-quality milk chocolate chips for the best taste.
- Not measuring ingredients accurately: Precision is key in candy-making. Use proper measuring cups and spoons to ensure your ingredients are correct.
- Overheating the chocolate: Melting chocolate too quickly can cause it to seize. Use low heat and stir constantly for a smooth consistency.
- Neglecting to use coconut oil: While optional, coconut oil helps chocolate set nicely and adds shine. Consider using it for optimal results.
- Rushing the cooling process: Allowing the chocolate to set properly is crucial for texture. Be patient and let them cool completely before serving.
Storage & Reheating Instructions
Refrigerator Storage
- Store your Classic Homemade Reese’s in an airtight container.
- They will last up to one week in the refrigerator.
Freezing Classic Homemade Reese’s
- Place candies in a freezer-safe container or bag.
- They can be frozen for up to three months without losing flavor.
Reheating Classic Homemade Reese’s
- Oven: Preheat your oven to 300°F (150°C) and warm them on a baking sheet for about 5-10 minutes.
- Microwave: Heat on medium power for 15-20 seconds at a time, watching closely to avoid melting too much.
- Stovetop: Place them in a pan over low heat, stirring gently until just warm.
Frequently Asked Questions
Here are some frequently asked questions about making Classic Homemade Reese’s:
Can I use crunchy peanut butter instead of creamy?
Yes, you can use crunchy peanut butter if you prefer added texture. Just keep in mind that it may alter the consistency slightly.
How do I make vegan Classic Homemade Reese’s?
To make vegan versions, substitute creamy peanut butter with a vegan alternative, use dairy-free chocolate, and replace butter with coconut oil.
Can I customize my Classic Homemade Reese’s?
Absolutely! You can add ingredients like crushed nuts, pretzels, or even flavored extracts for extra variety.
What is the best way to melt chocolate?
The best way is using a double boiler or microwave at low power, stirring often. This prevents burning and ensures smooth melting.
Final Thoughts
These Classic Homemade Reese’s are not only easy to make but also incredibly versatile! Feel free to customize them with different flavors or toppings. Whether you’re making them as gifts or indulging yourself, they promise joy in every bite. Give this recipe a try and enjoy your homemade treat!
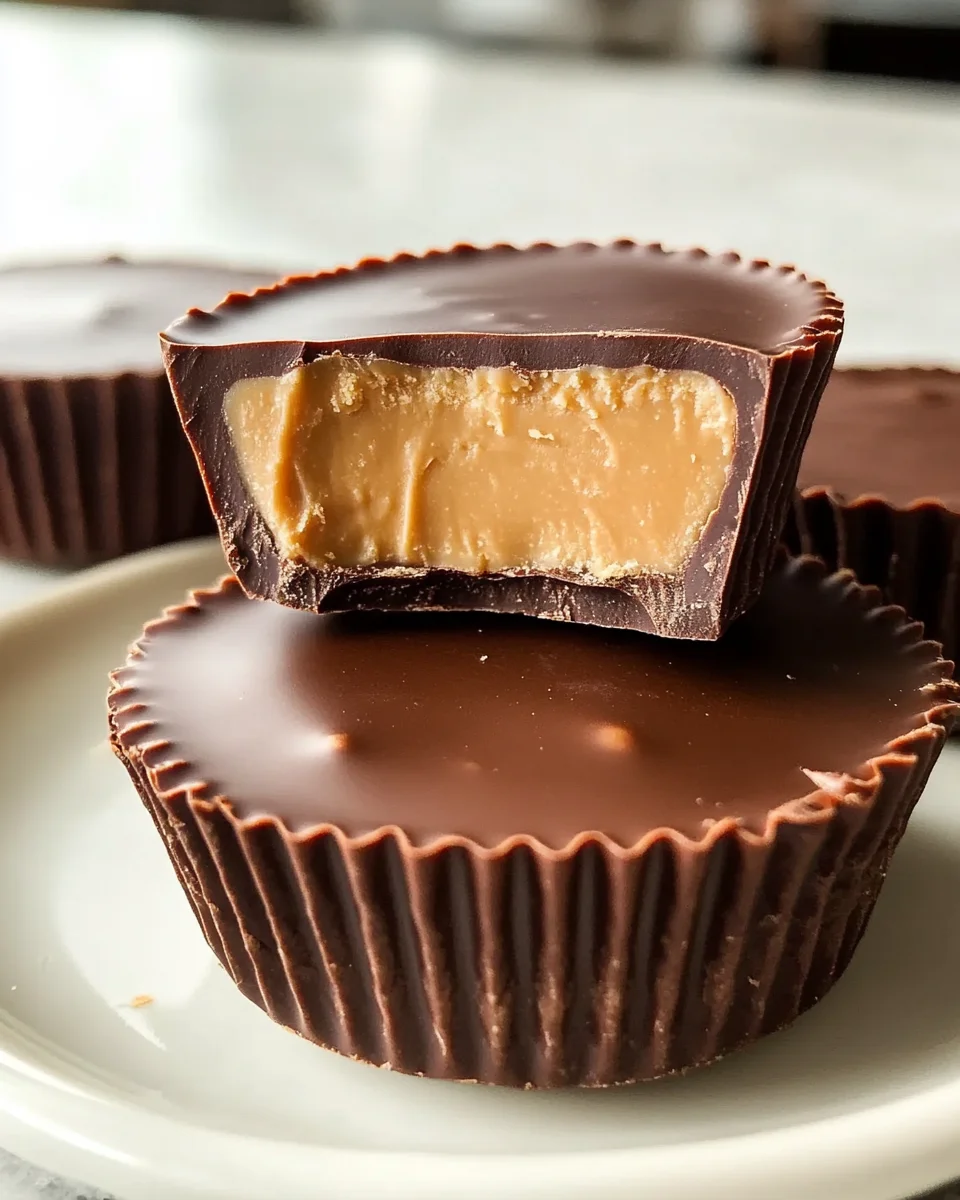
Classic Homemade Reese’s
Classic Homemade Reese’s are the ultimate treat for candy lovers, combining a creamy peanut butter filling with a rich milk chocolate coating. Perfect for any occasion—from birthdays to casual snacks—these homemade delights are easy to prepare and much tastier than store-bought varieties. With only a few simple ingredients and quick prep time, you can create these indulgent bites that are sure to impress friends and family alike. Customize them with your favorite toppings or serve them at gatherings for a delightful dessert experience. Dive into this fun kitchen project and satisfy your sweet cravings with every delicious bite!
- Prep Time: 15 minutes
- Cook Time: N/A
- Total Time: 0 hours
- Yield: Approximately 24 pieces 1x
- Category: Dessert
- Method: N/A
- Cuisine: American
Ingredients
- 1 cup creamy peanut butter
- 1/4 cup unsalted butter, softened
- 1 teaspoon vanilla extract
- 2 cups powdered sugar
- 2 cups milk chocolate chips
- 1 tablespoon coconut oil (optional)
Instructions
- In a mixing bowl, blend peanut butter, unsalted butter, and vanilla extract until smooth.
- Gradually mix in powdered sugar until the mixture holds its shape.
- Roll into 1-inch balls or press into mini muffin liners and refrigerate.
- Melt chocolate chips with coconut oil in a double boiler or microwave until smooth.
- Dip chilled peanut butter balls in chocolate, fully coating them, then place on parchment paper to cool.
- Refrigerate for 20-30 minutes until set.
Nutrition
- Serving Size: 1 piece (30g)
- Calories: 150
- Sugar: 11g
- Sodium: 55mg
- Fat: 9g
- Saturated Fat: 4g
- Unsaturated Fat: 5g
- Trans Fat: 0g
- Carbohydrates: 15g
- Fiber: 1g
- Protein: 3g
- Cholesterol: 5mg