Dutch Oven No Knead Crusty Bread
If you’re looking for a simple and satisfying way to enjoy freshly baked bread at home, then this Dutch Oven No Knead Crusty Bread recipe is just what you need! With only five minutes of prep time, you can create a beautiful artisan loaf that turns out perfectly crusty every single time. This recipe is not only great for busy weeknights but also shines at family gatherings or cozy weekend brunches. Imagine pulling a warm loaf from your oven, the aroma filling your kitchen, and everyone gathering around to enjoy it.
What makes this recipe even more special is how forgiving it is. Even if you’ve never baked bread before, you’ll find this process super approachable and rewarding. You don’t need any fancy equipment or ingredients—just a few pantry staples and a little patience while the dough rises!
Why You’ll Love This Recipe
- Easy to make: With just five minutes of hands-on time, you’ll feel like a pro in the kitchen.
- Perfect for sharing: This recipe yields enough for eight generous servings—great for feeding family and friends!
- No kneading required: Say goodbye to sore arms; just mix and let it rise!
- Versatile: Enjoy it as-is or customize with your favorite herbs and spices.
- Crusty perfection: The Dutch oven creates an ideal environment for baking, leading to that irresistible crunchy crust.
Ingredients You’ll Need
This Dutch Oven No Knead Crusty Bread uses simple and wholesome ingredients that you probably already have in your pantry. Let’s gather what we need:
- 1 1/2 cups warm water (about 100 degrees F)
- 1 packet yeast (active dry, instant, or quick rise – 2.25 teaspoons)
- 1 ½ teaspoons fine grain salt
- 3 1/4 cups all-purpose flour
With these ingredients on hand, you’re well on your way to creating something truly delightful!
Variations
One of the best things about this bread recipe is its flexibility! Feel free to get creative with these variations:
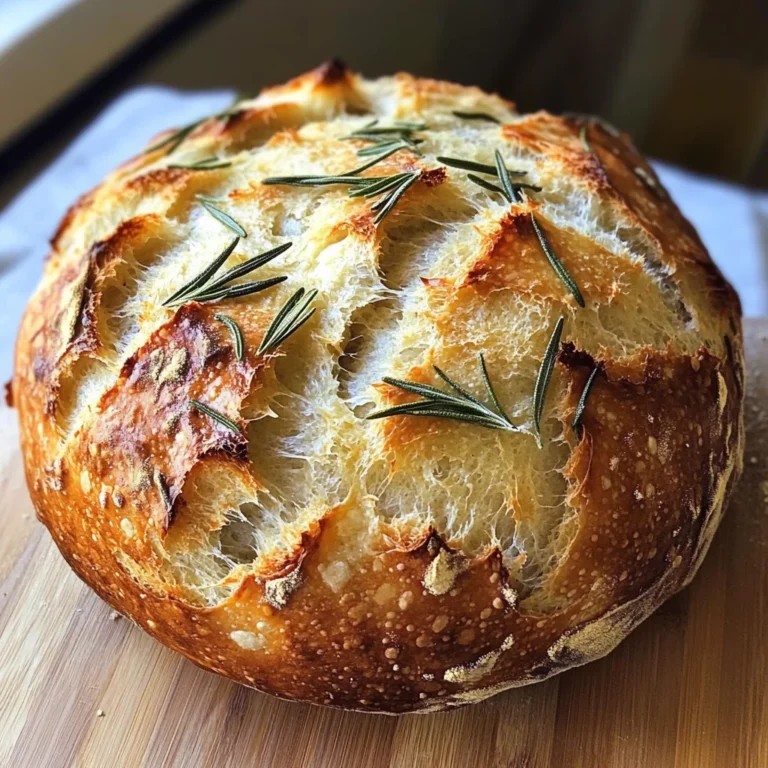
- Add herbs: Toss in some dried rosemary or thyme for an aromatic touch.
- Cheesy goodness: Fold in shredded cheese like cheddar or mozzarella for a cheesy twist.
- Sweet indulgence: Add a handful of raisins or chopped nuts for a sweet version that’s perfect with breakfast.
- Seed topping: Sprinkle sesame or poppy seeds on top before baking for added texture and flavor.
How to Make Dutch Oven No Knead Crusty Bread
Step 1: Mix the Ingredients
In a large bowl (or container), mix together the 1 1/2 cups warm water, yeast, and fine grain salt. Use a whisk to ensure everything dissolves well. This step is crucial because it activates the yeast, allowing your bread to rise beautifully!
Step 2: Combine Flour
Now it’s time to add the 3 1/4 cups all-purpose flour. Pour it in all at once! Stir until you see a sticky dough form. Don’t worry about being perfect; just make sure everything gets mixed together. It might feel messy—that’s totally okay!
Step 3: Let It Rise
Cover the bowl with a kitchen towel or leave the lid slightly ajar if using a container. Let it rise in a warm spot for about 2-3 hours until it doubles in size. This rising time is important—it develops flavor and texture!
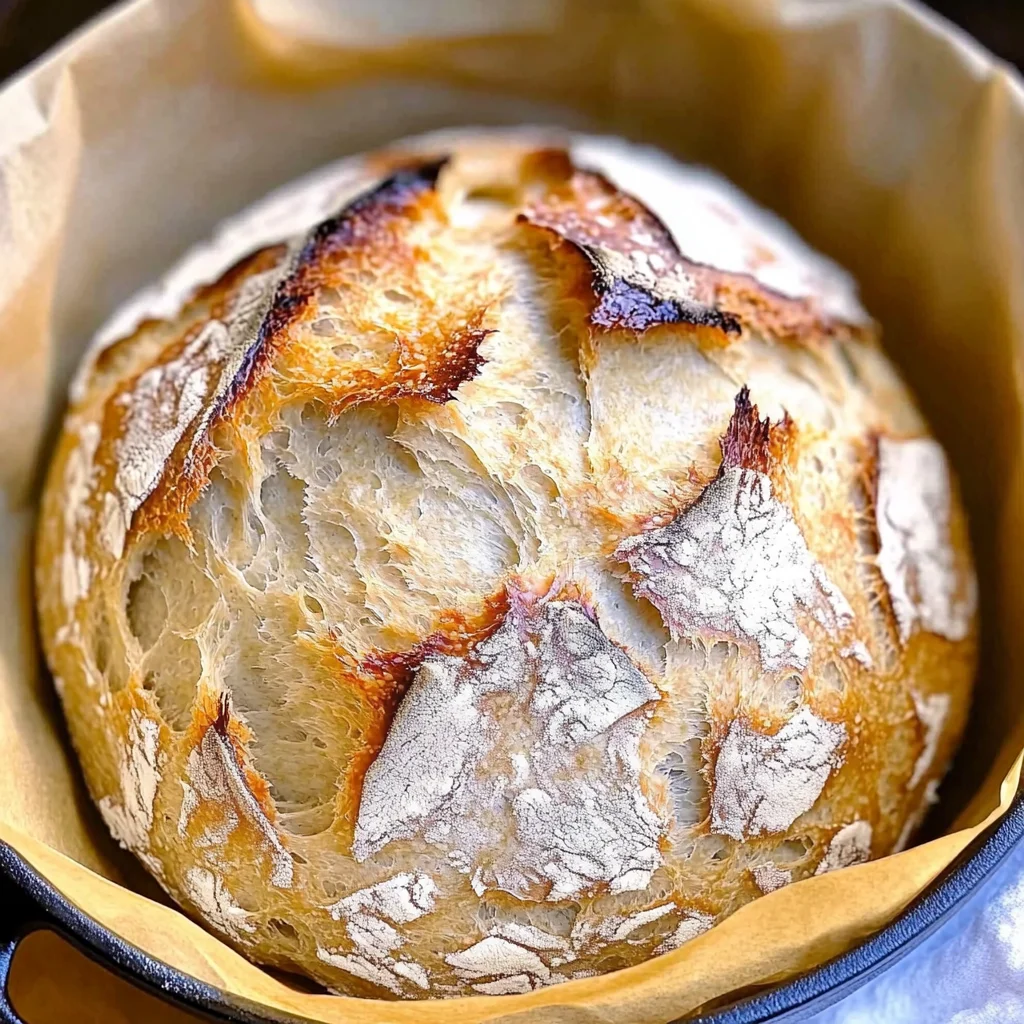
Step 4: Preheat Your Dutch Oven
About half an hour before you’re ready to bake, preheat your oven to 450 degrees F with your Dutch oven inside (lid on). This will help create that perfect steam environment everyone loves in crusty bread.
Step 5: Shape the Dough
Once risen, scrape the dough onto a floured piece of parchment paper. Shape it into a loaf by folding the edges over—don’t stress about aesthetics! The goal here is simply to form it enough so it’ll fit nicely into the pot.
Step 6: Prepare for Baking
Using parchment paper, carefully flip the dough so it’s seam-side down. If you like, cut some slits across the top for decoration (and ventilation!).
Step 7: Bake It!
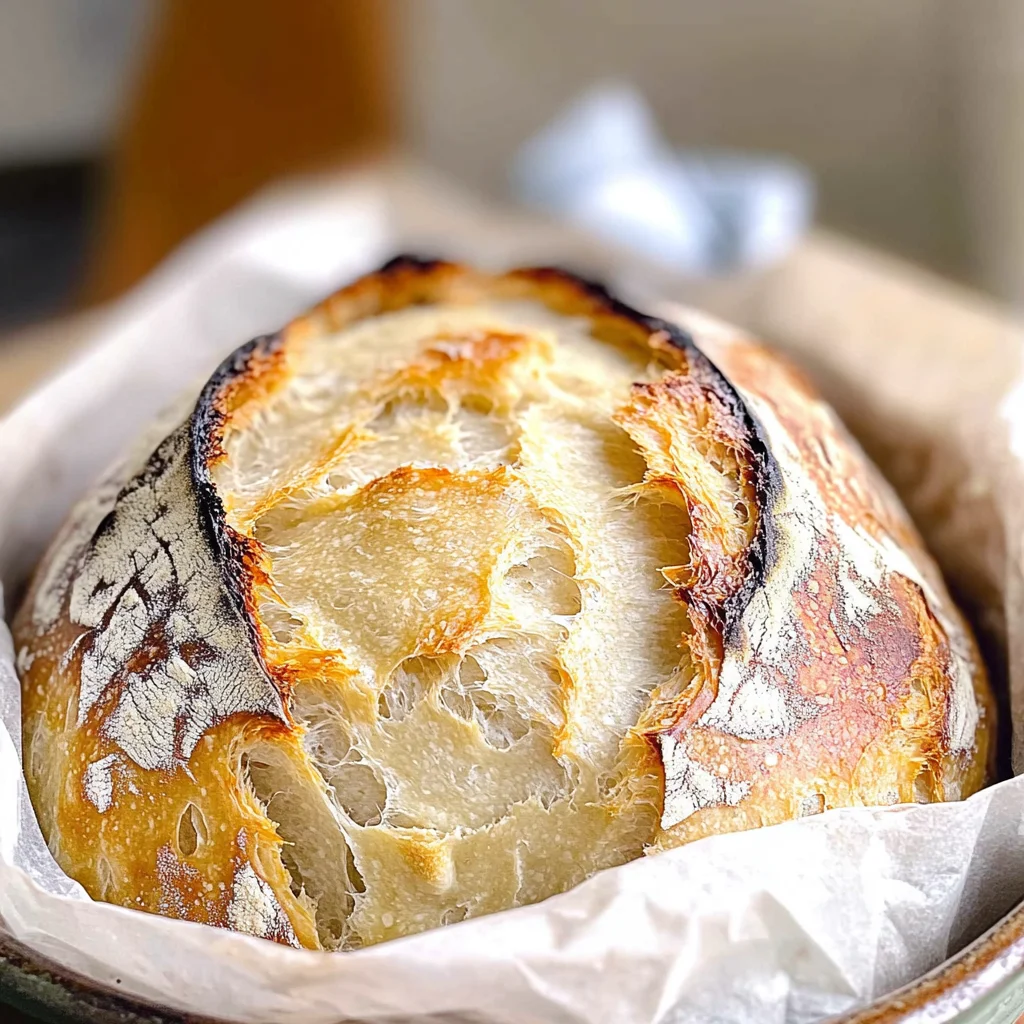
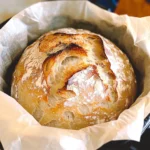
Carefully remove your hot Dutch oven from the oven and place the dough inside using the parchment paper as handles. Cover it back up and bake for about 35 minutes. After that, take off the lid and let it bake for another 5-10 minutes until golden brown.
Step 8: Cool and Enjoy
Once baked, remove your beautiful loaf from the pot using parchment handles again. Allow it to cool on a wire rack or cutting board for at least ten minutes before slicing into it—if you can resist that long! Enjoy every slice of this amazing homemade bread!
Pro Tips for Making Dutch Oven No Knead Crusty Bread
Making crusty bread at home is a rewarding experience, and these tips will help you achieve that perfect loaf every time!
- Use warm water: Starting with water around 100 degrees F helps activate the yeast effectively, resulting in a better rise and airy texture.
- Don’t overmix: Stirring just until the dough is combined keeps it light and fluffy. Overmixing can lead to dense bread, so embrace the stickiness!
- Let it rise in warmth: A warm environment encourages yeast activity, helping your dough double in size efficiently. If it’s chilly, a preheated oven (turned off) is a great space for rising.
- Preheat the Dutch oven thoroughly: This step ensures that your bread develops that sought-after crust as soon as it hits the hot surface, sealing in moisture.
- Cool before slicing: Allowing your bread to cool for at least 10 minutes before cutting helps maintain its structure, preventing a gummy texture inside.
How to Serve Dutch Oven No Knead Crusty Bread
This bread not only stands on its own but also makes a fantastic addition to various meals. Here’s how to present it beautifully!
Garnishes
- Fresh herbs: A sprinkle of chopped parsley or rosemary on top adds a burst of color and freshness that enhances the bread’s flavor.
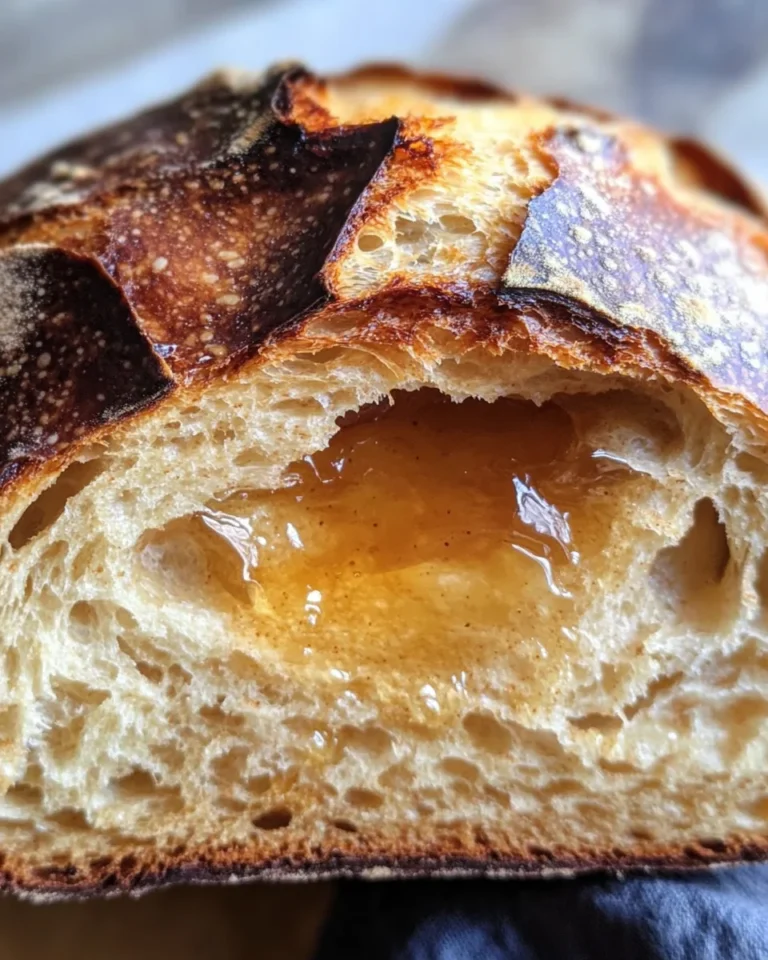
- Olive oil drizzle: Serve with a small dish of high-quality olive oil for dipping; this simple addition elevates your homemade bread experience.
- Sea salt flakes: A light sprinkle of flaky sea salt right before serving gives your crust an extra crunch and enhances its flavor.
Side Dishes
- Creamy Tomato Basil Soup: This classic pairing is perfect for dipping. The rich flavors of tomato soup complement the crusty texture of the bread beautifully.
- Mixed Green Salad: A fresh salad with crisp greens, cherry tomatoes, and a tangy vinaigrette provides a refreshing contrast to the hearty bread.
- Roasted Vegetables: Seasoned roasted veggies add a colorful and nutritious side. Carrots, bell peppers, and zucchini work well together alongside the bread.
- Hummus Platter: Serve slices with an assortment of hummus flavors and crunchy veggies for dipping; this option is healthy and satisfying.
Enjoy your deliciously crusty Dutch Oven No Knead Bread with these serving ideas! It’s sure to be a hit at any meal.
Make Ahead and Storage
This Dutch Oven No Knead Crusty Bread recipe is perfect for meal prep! You can make a batch ahead of time and enjoy fresh, crusty bread throughout the week. Here’s how to store your masterpiece:
Storing Leftovers
- Allow the bread to cool completely before storing.
- Wrap the bread in a clean kitchen towel or place it in a paper bag to keep the crust crispy.
- Store at room temperature for up to 2 days.
Freezing
- Slice the bread before freezing for easy access later.
- Wrap slices tightly in plastic wrap or aluminum foil, then place them in a freezer-safe bag.
- Freeze for up to 3 months. Be sure to label with the date!
Reheating
- To reheat, preheat your oven to 350 degrees F.
- Place the bread directly on the oven rack or on a baking sheet for about 10-15 minutes until warmed through.
- For extra crispiness, you can mist it lightly with water before reheating.
FAQs
Here are some common questions about making Dutch Oven No Knead Crusty Bread that you might find helpful!
Can I use whole wheat flour instead of all-purpose flour for Dutch Oven No Knead Crusty Bread?
Yes! Whole wheat flour can be used, but it may result in a denser loaf. You might consider mixing it with all-purpose flour for a lighter texture.
How long does it take to make Dutch Oven No Knead Crusty Bread?
The total time is around 3 hours, including rising and baking. The actual hands-on time is only about 5 minutes, making it perfect for busy schedules!
What should I do if my dough is too sticky?
If your dough is too sticky after mixing, gradually add more flour (1-2 tablespoons at a time) until you reach a workable consistency.
Can I prepare the dough and bake it later?
Absolutely! Once your dough has risen, you can refrigerate it for up to 12 hours before baking. Just let it come back to room temperature before placing it in the oven.
Why is my bread not getting crusty?
Ensure your Dutch oven is preheated properly and that you keep the lid on during the first part of baking. This helps create steam which contributes to that beautiful crust.
Final Thoughts
I hope this Dutch Oven No Knead Crusty Bread recipe brings warmth and joy into your home! There’s something truly special about pulling a freshly baked loaf from the oven, filling your kitchen with that irresistible aroma. Enjoy making this delightful bread, share it with loved ones, and savor every delicious bite. Happy baking!
Dutch Oven No Knead Crusty Bread
If you’re ready to elevate your baking skills, this Dutch Oven No Knead Crusty Bread recipe is perfect for you! With only five minutes of prep time, you can create a stunning artisan loaf that will impress your family and friends.
- Prep Time: 5 minutes
- Cook Time: 45 minutes
- Total Time: 50 minutes
- Yield: Serves 8 slices 1x
- Category: Bread
- Method: Baking
- Cuisine: American
Ingredients
- 1 1/2 cups warm water (100°F)
- 1 packet active dry yeast (2.25 teaspoons)
- 1 ½ teaspoons fine grain salt
- 3 1/4 cups all-purpose flour
Instructions
- In a large bowl, mix warm water, yeast, and salt until dissolved.
- Add flour all at once and stir until a sticky dough forms.
- Cover the bowl and let the dough rise in a warm area for 2-3 hours until doubled.
- Preheat your oven to 450°F with the Dutch oven inside.
- Scrape dough onto floured parchment paper and shape into a loaf.
- Place dough seam-side down on parchment, score the top if desired.
- Carefully transfer dough into the hot Dutch oven and bake covered for 35 minutes; then uncover and bake for an additional 5-10 minutes until golden brown.
- Cool on a wire rack for at least ten minutes before slicing.
Nutrition
- Serving Size: 1 slice (60g)
- Calories: 150
- Sugar: 0g
- Sodium: 170mg
- Fat: 0.5g
- Saturated Fat: 0g
- Unsaturated Fat: 0g
- Trans Fat: 0g
- Carbohydrates: 31g
- Fiber: 1g
- Protein: 4g
- Cholesterol: 0mg