Protein Bars
If you’re looking for a quick and delicious snack that packs a protein punch, you’ve come to the right place! These Protein Bars are my go-to recipe for busy days when I need something nutritious on the fly. With just four simple ingredients, they come together in minutes and can be customized to fit your taste. Whether you’re prepping for a busy week or need a sweet treat for a family gathering, these bars will surely satisfy.
What I love most about this recipe is how versatile it is. You can easily switch up flavors, making it perfect for everyone in your household. Plus, they’re an excellent way to sneak some extra protein into your day without sacrificing taste!
Why You’ll Love This Recipe
- Quick and Easy: With only five minutes of prep time, you can whip these up in no time!
- Customizable Flavors: Feel free to mix and match ingredients to create your favorite flavor combinations.
- Family-Friendly: These Protein Bars are loved by both kids and adults, making them perfect for snacks or breakfast on-the-go.
- Healthy Ingredients: Packed with wholesome ingredients, they provide energy without any junk.
- Meal Prep Friendly: Make a batch ahead of time and store them in the fridge for easy access throughout the week.
Ingredients You’ll Need
Making these Protein Bars is as easy as gathering some simple, wholesome ingredients that you probably already have at home. Let’s dive into what you’ll need!
For the Protein Bars
- 1 1/2 cup peanut butter (or allergy-friendly sub)
- 3/4 cup protein powder (90g)
- 1/4 cup pure maple syrup (or honey)
- 1/2 tsp salt
- 4 oz melted chocolate chips (optional)
Don’t forget to check out the flavor ideas earlier in this post for even more fun variations!
Variations
One of the best things about this recipe is its flexibility! Here are some variation ideas to help you get creative:
- Swap the nut butter: Try almond butter or sunflower seed butter for a different twist.
- Change up the protein powder: Use flavored protein powders like chocolate or vanilla for added taste.
- Add some crunch: Toss in nuts or seeds for an extra texture boost.
- Mix in dried fruits: Incorporate raisins or cranberries for a chewy surprise.
How to Make Protein Bars
Step 1: Combine Ingredients
Start by mixing all your ingredients—except any optional chocolate chips—in a mixing bowl. The key here is to ensure everything blends well into a dough-like consistency. This step is super important because it sets the stage for perfectly textured bars.
Step 2: Shape the Bars
Once your mixture is well combined, you can shape it into bars using your hands or spread it evenly into a lined 8×8 pan. If you’re using a pan, refrigerate until chilled; this helps firm up the bars so they hold their shape better when cut.
Step 3: Add Optional Chocolate Coating
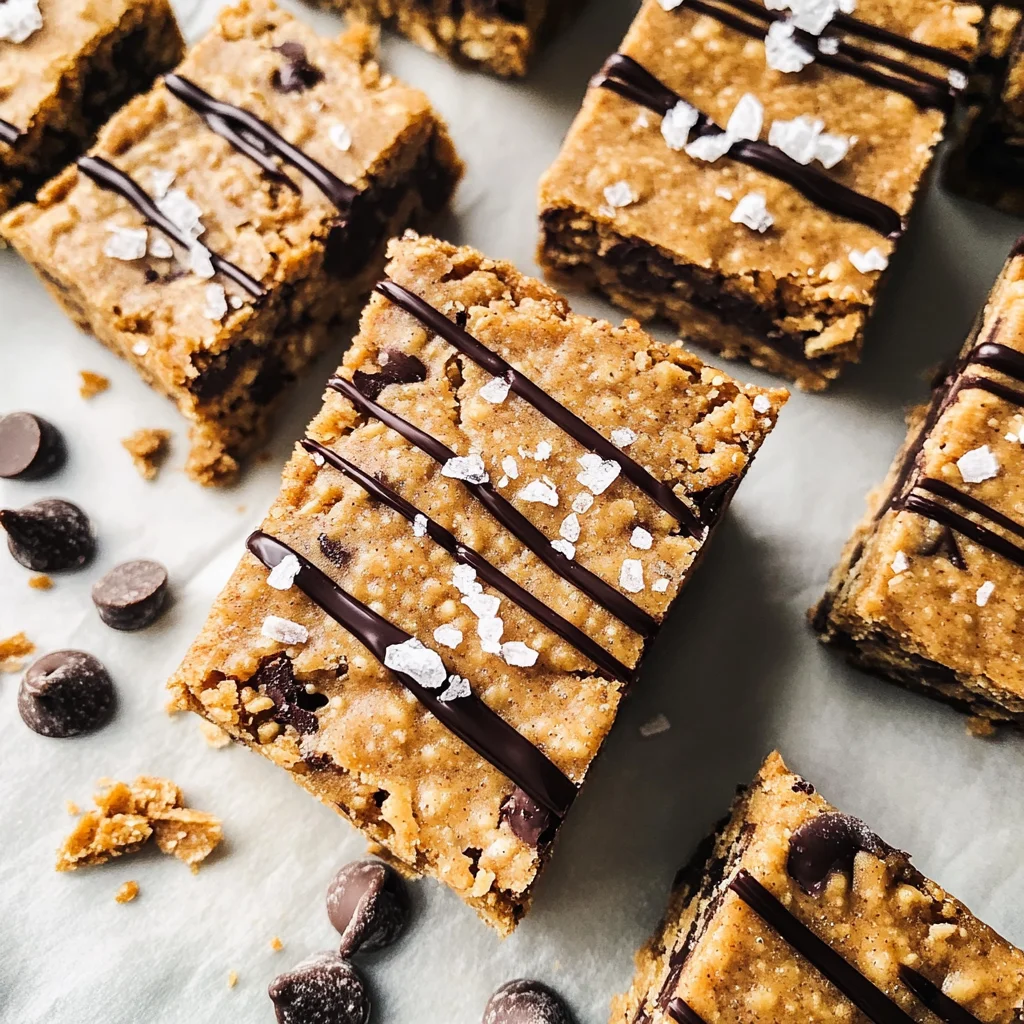
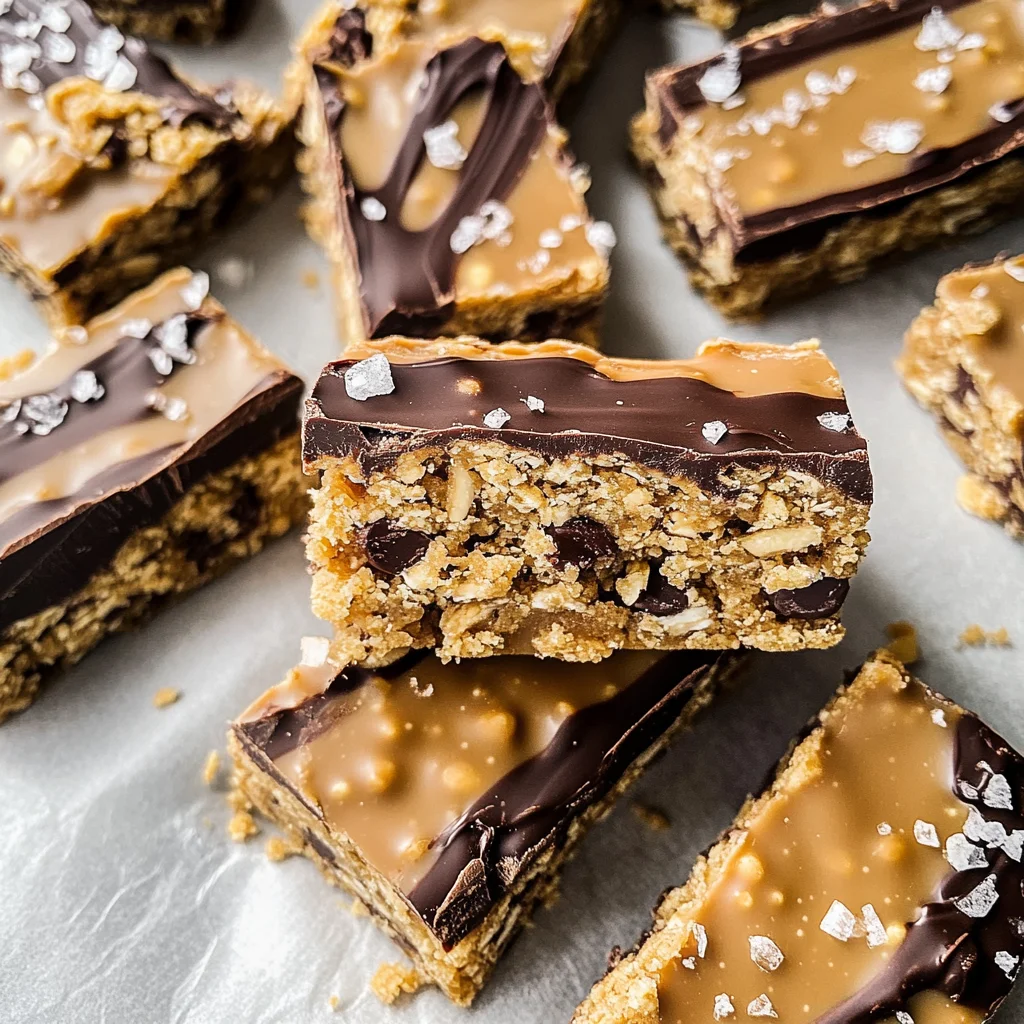
If you want that extra touch of sweetness and decadence, melt your chocolate chips and either spread them over the top of the bars before chilling or dip each bar individually. This optional step adds not just flavor but also makes these Protein Bars feel like a special treat!
Step 4: Chill and Cut
After chilling, take your pan out of the fridge and cut into bars. Enjoy them right away, or store them in an airtight container in the fridge for later snacking!
And there you have it! Your very own homemade Protein Bars that are not only delicious but also healthy. Happy snacking!
Pro Tips for Making Protein Bars
Making your own protein bars can be a delightful adventure, and with these pro tips, you’ll be a protein bar expert in no time!
- Choose your protein powder wisely – The flavor of the protein powder you select can significantly impact your bars’ taste. Opt for one that you enjoy on its own for the best results.
- Experiment with textures – If you prefer a chewier bar, add oats or nuts to the mixture. For crunch, consider incorporating seeds or crispy rice cereal.
- Store properly for freshness – To keep your protein bars fresh longer, wrap each bar individually in parchment paper and store them in an airtight container in the fridge.
- Play with sweeteners – While maple syrup adds a lovely flavor, don’t hesitate to try alternatives like agave nectar or date syrup, especially if you’re looking for different sweetness levels.
- Make it fun – Let your creativity shine! Add spices like cinnamon or cocoa powder for extra flavor, or mix in dried fruits like cranberries or apricots for a fruity twist.
How to Serve Protein Bars
Serving your homemade protein bars can be as fun as making them! Here are some ideas to present these delicious snacks beautifully.
Garnishes
- Chopped nuts or seeds – Sprinkle some chopped almonds or sunflower seeds on top for added crunch and nutrition.
- Coconut flakes – A dusting of unsweetened coconut flakes not only looks appealing but also adds a tropical flavor.
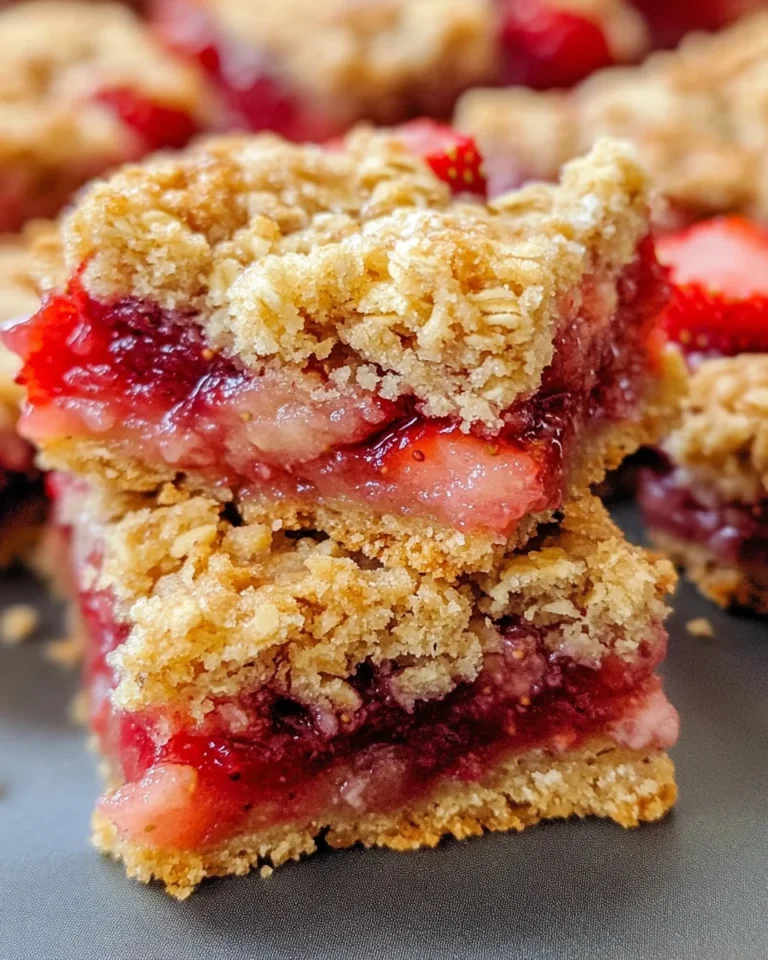
- Fresh fruit slices – Pairing your bars with slices of banana or strawberries can create a refreshing contrast and enhance the overall presentation.
Side Dishes
- Greek yogurt with honey – A creamy side of Greek yogurt drizzled with honey makes for a delightful combination, adding probiotics and additional protein.
- Fruit salad – A colorful fruit salad complements the protein bars well and provides natural sweetness and hydration.
- Vegetable sticks with hummus – Carrot and cucumber sticks served alongside hummus make for a crunchy side that balances out the richness of the bars.
- Smoothie bowl – Pairing your bars with a smoothie bowl filled with spinach, banana, and almond milk not only boosts nutrition but also adds visual appeal.
These serving suggestions will help elevate your protein bars into a wholesome snack experience that’s perfect any time of day! Enjoy every bite knowing you created something delicious and nutritious.
Make Ahead and Storage
These protein bars are perfect for meal prep, allowing you to whip up a batch at the beginning of the week for easy snacks or breakfast on-the-go!
Storing Leftovers
- Store your protein bars in an airtight container at room temperature for up to a week.
- For a longer shelf life, keep them in the refrigerator where they can last for two weeks.
- Make sure to separate layers with parchment paper to prevent sticking.
Freezing
- To freeze, wrap each bar tightly in plastic wrap or aluminum foil.
- Place wrapped bars in a freezer-safe bag or container.
- They can be frozen for up to three months; just thaw them overnight in the fridge before enjoying!
Reheating
- If you prefer your protein bars warm, you can microwave them for about 10-15 seconds.
- Avoid overheating, as this may make them too soft or melt any chocolate coating.
FAQs
Here are some common questions about making protein bars that might help!
Can I customize my Protein Bars with different flavors?
Absolutely! You can mix in ingredients like dried fruits, nuts, or seeds to create different flavor profiles. Just ensure that any additions fit within your dietary preferences.
How do I store homemade Protein Bars?
Store your homemade protein bars in an airtight container at room temperature for up to a week, or refrigerate for longer freshness. For even more longevity, consider freezing them!
What type of protein powder should I use for these Protein Bars?
Using a protein powder you enjoy is key! Unsweetened options work great, but feel free to experiment with flavored varieties that suit your taste.
Are these Protein Bars suitable for meal prep?
Yes! These protein bars are excellent for meal prep as they are quick to make and store well, ensuring you have nutritious snacks ready whenever you need them.
Final Thoughts
I hope you enjoy making these delightful protein bars as much as I do! With their simple ingredients and endless customization options, they truly stand out as a favorite snack or breakfast choice. Remember, it’s all about finding the flavors that make your taste buds dance! Happy cooking, and I can’t wait for you to try this recipe!
Protein Bars

If you’re seeking a quick and satisfying snack that delivers a powerful protein boost, these homemade Protein Bars are your answer! With only four simple ingredients, they come together effortlessly in just minutes. Perfect for busy days or as a delicious treat for the whole family, these bars are customizable to suit everyone’s taste preferences. Whether you need a nutritious breakfast on-the-go or a sweet afternoon snack, this recipe will keep you energized without compromising on flavor.
- Prep Time: 5 minutes
- Cook Time: Chilling time varies
- Total Time: 0 hours
- Yield: Approximately 12 servings 1x
- Category: Dessert
- Method: No-bake
- Cuisine: American
Ingredients
- 1 1/2 cup peanut butter (or allergy-friendly alternative)
- 3/4 cup protein powder (90g)
- 1/4 cup pure maple syrup (or honey)
- 1/2 tsp salt
- Optional: 4 oz melted chocolate chips
Instructions
- In a mixing bowl, combine the peanut butter, protein powder, maple syrup, and salt. Mix until well blended into a dough-like consistency.
- Transfer the mixture into an 8×8 lined pan and press down evenly. Chill in the refrigerator until firm.
- If desired, melt chocolate chips and spread over the top of the bars before chilling again.
- Once set, cut into bars and enjoy! Store in an airtight container in the fridge for up to two weeks.
Nutrition
- Serving Size: 1 bar (40g)
- Calories: 150
- Sugar: 3g
- Sodium: 150mg
- Fat: 8g
- Saturated Fat: 2g
- Unsaturated Fat: 6g
- Trans Fat: 0g
- Carbohydrates: 14g
- Fiber: 2g
- Protein: 6g
- Cholesterol: 0mg