Rustic No Knead Rosemary Garlic Bread
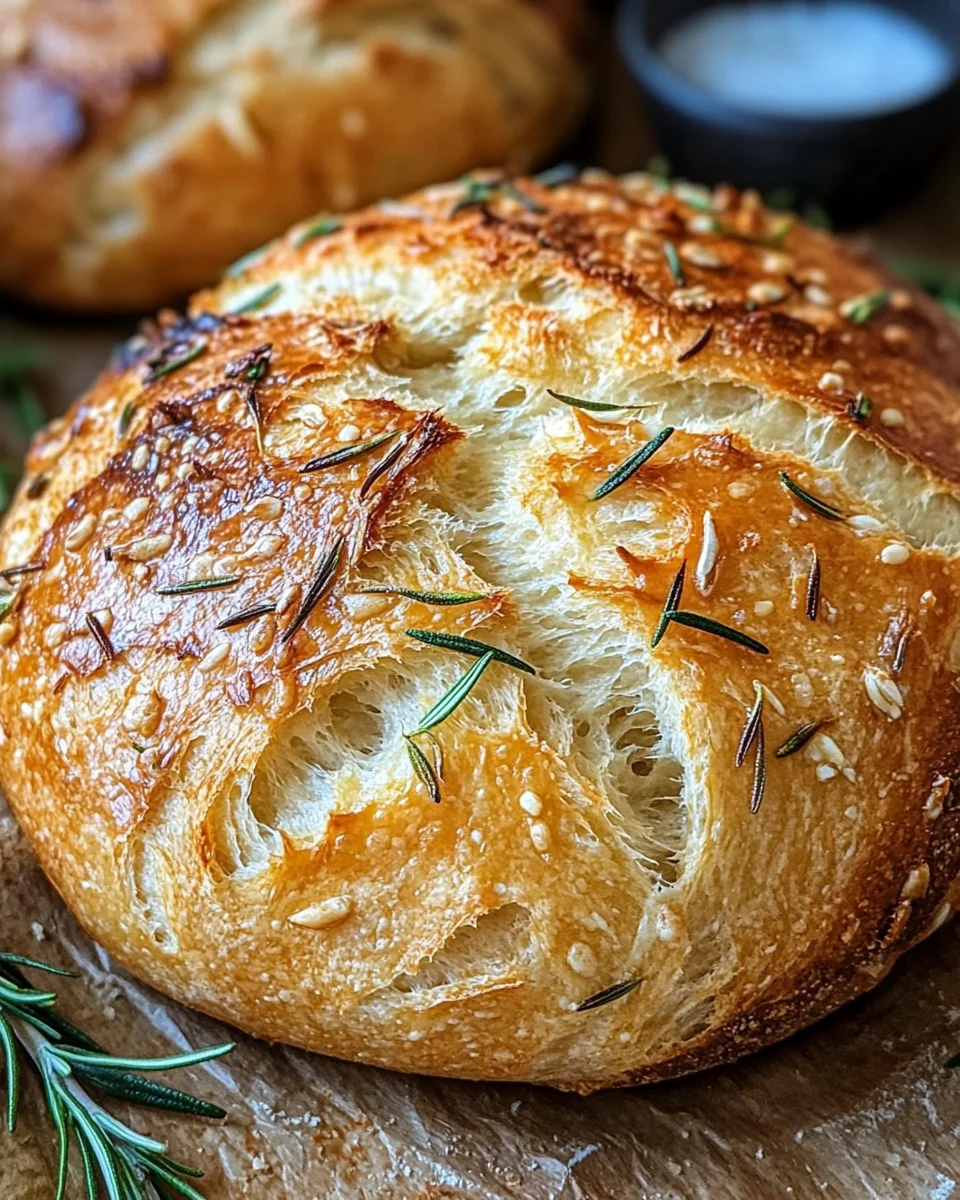
Artisan-style Rustic No Knead Rosemary Garlic Bread is a delightful addition to your kitchen repertoire. This bread combines the aromatic flavors of fresh rosemary and garlic, creating a crusty exterior with a soft and chewy interior. With just 5 minutes of hands-on time and no special equipment required, it’s perfect for any occasion—be it a family dinner, a cozy gathering, or simply enjoyed on its own. The ease of preparation and fantastic flavor will have you making this bread again and again.
Why You’ll Love This Recipe
- Effortless Preparation: With minimal hands-on time, this recipe is accessible for bakers of all levels.
- Flavorful Infusion: Fresh rosemary and garlic elevate the taste, making this bread stand out as a gourmet option.
- Versatile Serving Options: Enjoy it alongside soups, salads, or as a base for sandwiches; it’s perfect for any meal.
- No Kneading Required: The simple method allows anyone to create artisan-style bread without complex techniques.
- Great for Sharing: Perfectly sliced, this rustic bread makes an impressive centerpiece for gatherings.
Tools and Preparation
Before diving into the baking process, gather your essential tools to ensure a smooth experience.
Essential Tools and Equipment
- Cast iron skillet
- Mixing bowl
- Wooden spoon
- Plastic wrap
- Clean kitchen towel
- Wire rack
Importance of Each Tool
- Cast iron skillet: Provides even heat distribution and creates a perfect crust.
- Mixing bowl: Essential for combining ingredients without mess.
- Plastic wrap: Keeps the dough warm during fermentation for optimal rise.
Ingredients
Artisan-style no knead bread infused with fresh rosemary and garlic. Crusty on the outside, soft and chewy inside, made with just 5 minutes of hands-on time. No special equipment or kneading required!
For the Dough
- 3 cups All-purpose flour (About 360 grams; provides structure and chewy texture)
- 3 cloves Garlic, minced (Fresh garlic is essential for best flavor; don’t use jarred)
- 1 tablespoon Fresh rosemary, finely chopped (Can substitute with 1 teaspoon dried rosemary if needed)
- 1 1/4 teaspoons Kosher salt (Enhances all the flavors; don’t skip)
- 3/4 teaspoon Freshly ground black pepper (Adds subtle warmth and depth)
- 1/2 teaspoon Instant yeast (Also called bread machine yeast or rapid-rise yeast)
- 1 1/2 cups Water, room temperature (Around 70-75°F works best for proper fermentation)
For Baking
- 2 tablespoons Cornmeal (Prevents sticking and adds texture to bottom crust)
- Nonstick spray or olive oil (For greasing the cast iron skillet)
- Extra flour for shaping (For dusting work surface and hands when handling dough)
How to Make Rustic No Knead Rosemary Garlic Bread
Step 1: Mix Dry Ingredients
In a large mixing bowl, combine all-purpose flour, minced garlic, chopped fresh rosemary, kosher salt, black pepper, and instant yeast. Stir well to distribute ingredients evenly.
Step 2: Add Water
Add room temperature water and mix with a wooden spoon or your hands until a wet, shaggy, sticky dough forms. Mix for about 30 seconds—don’t overmix.
Step 3: Ferment the Dough
Cover the bowl tightly with plastic wrap. Leave at room temperature (65-75°F) for 18-24 hours. The surface should become bubbly and the dough will double or triple in size.
Step 4: Prepare Skillet
Lightly oil a 10-inch cast iron skillet with olive oil or nonstick spray. Sprinkle cornmeal evenly over the bottom.
Step 5: Shape the Dough
Dust your work surface generously with flour. Gently turn the sticky dough out onto the floured surface. With floured hands, gently shape it into a round loaf without overworking it.
Step 6: Second Rise
Carefully place the shaped dough into the prepared cast iron skillet. Cover loosely with a clean kitchen towel and let rise at room temperature for about 2 hours until doubled in size and puffy.
Step 7: Preheat Oven
About 15 minutes before the second rise is complete, preheat your oven to 450°F.
Step 8: Bake
Place the uncovered skillet in the preheated oven. Bake for 30-40 minutes until the crust is deeply golden brown and the loaf sounds hollow when tapped on the bottom. If the top browns too quickly, tent loosely with aluminum foil.
Step 9: Cool Before Slicing
Remove from oven and let the bread cool in the skillet for 5 minutes, then transfer to a wire rack. Cool for at least 15-20 minutes before slicing.
How to Serve Rustic No Knead Rosemary Garlic Bread
Serving your Rustic No Knead Rosemary Garlic Bread can elevate any meal, whether it’s a cozy dinner or a festive gathering. This fragrant bread pairs beautifully with various dishes and can be enjoyed in many ways.
As a Standalone Snack
- Enjoy warm slices straight from the oven with a smear of butter for a simple yet delicious treat.
- Serve with olive oil and balsamic vinegar for dipping, adding an extra layer of flavor.
With Soups and Stews
- Pair your bread with hearty soups like minestrone or tomato basil. The crusty exterior is perfect for dipping.
- Accompany a rich beef stew to soak up all the delicious juices.
As Part of a Charcuterie Board
- Include slices of rosemary garlic bread on a charcuterie board alongside cheeses, cured meats, and olives for an impressive spread.
- Complement the flavors with fruits like figs or grapes to balance the savory notes.
In Sandwiches
- Use the bread as a base for gourmet sandwiches. Think roasted veggies and goat cheese or classic turkey and swiss.
- Toast slices and layer with avocado and poached eggs for a satisfying brunch option.
With Salads
- Serve alongside a fresh salad, like Caesar or Mediterranean, to add texture and heartiness.
- Use torn pieces as croutons in any salad to enhance crunch and flavor.

How to Perfect Rustic No Knead Rosemary Garlic Bread
To achieve the best results with your Rustic No Knead Rosemary Garlic Bread, consider these helpful tips. They will ensure that your homemade bread turns out perfectly every time.
- Use Fresh Ingredients: Fresh rosemary and garlic make all the difference in flavor. Avoid using dried garlic or jarred garlic for optimal taste.
- Monitor Temperature: Keep your water temperature between 70-75°F for ideal fermentation conditions. Too hot can kill the yeast, while too cold may slow down rising.
- Be Patient: Allowing the dough to rise for 18-24 hours develops flavor. Don’t rush this process; great bread takes time!
- Preheat Properly: Ensure your oven is fully preheated before baking. This helps create that lovely crusty exterior you want in rustic bread.
- Don’t Overwork Dough: When shaping, handle the dough gently. Overworking can lead to dense bread instead of light and airy textures.
- Cool Before Slicing: Let your bread cool completely before slicing. This allows the crumb structure to set, resulting in better texture.
Best Side Dishes for Rustic No Knead Rosemary Garlic Bread
Your Rustic No Knead Rosemary Garlic Bread pairs wonderfully with various side dishes that complement its flavor profile. Here are some excellent options:
- Garden Salad: A fresh garden salad with mixed greens, cherry tomatoes, and vinaigrette offers a refreshing contrast to the rich flavors of the bread.
- Creamy Tomato Soup: A bowl of creamy tomato soup makes for a comforting pairing that enhances the garlicky notes of the bread.
- Roasted Vegetables: Oven-roasted seasonal vegetables bring sweetness and depth that match well with this artisan loaf.
- Cheesy Spinach Dip: A warm cheesy spinach dip served alongside offers indulgence; use the bread for dipping!
- Antipasto Platter: Create an antipasto platter featuring marinated olives, artichokes, and cured meats for an Italian-inspired feast that highlights the bread’s flavors.
- Pasta Primavera: Light pasta primavera tossed in olive oil showcases fresh vegetables; serve it alongside slices of rosemary garlic bread to soak up sauce.
- Stuffed Bell Peppers: These colorful peppers filled with grains or meat complement the rustic nature of your homemade loaf beautifully.
- Balsamic Glazed Brussels Sprouts: Sweet-tangy Brussels sprouts add an elegant touch while their earthy flavors pair nicely with rosemary garlic notes.
Common Mistakes to Avoid
When making Rustic No Knead Rosemary Garlic Bread, there are a few common pitfalls. Understanding these can help you achieve the best results.
- Using jarred garlic: Fresh garlic is essential for the best flavor. Always use minced fresh garlic instead of jarred.
- Skipping the resting time: Allowing the dough to rest is crucial for proper fermentation. Don’t rush this step; let it sit for 18-24 hours.
- Overworking the dough: Gently shape your dough without overmixing. Overworking can lead to a tough texture.
- Ignoring the temperature: Ensure your water is at room temperature (70-75°F) for optimal yeast activity. Cold water can slow down fermentation.
- Not preheating the oven: Preheat your oven thoroughly before baking. This helps create a crisp crust that enhances flavor.
Storage & Reheating Instructions
Refrigerator Storage
- Store in an airtight container or wrap tightly in plastic wrap.
- Enjoy within 3-5 days for optimal freshness.
Freezing Rustic No Knead Rosemary Garlic Bread
- Wrap the cooled bread tightly in aluminum foil or freezer-safe bags.
- Freeze for up to 3 months. Thaw in the refrigerator overnight before using.
Reheating Rustic No Knead Rosemary Garlic Bread
- Oven: Preheat to 350°F and warm for about 10-15 minutes to revive crustiness.
- Microwave: Heat slices on medium power for about 10-15 seconds, but this may soften the crust.
- Stovetop: Warm in a skillet over low heat for a few minutes, turning occasionally.
Frequently Asked Questions
What makes Rustic No Knead Rosemary Garlic Bread unique?
Rustic No Knead Rosemary Garlic Bread stands out because of its simple preparation and flavorful infusion of rosemary and garlic, making it a delightful addition to any meal.
Can I use dried rosemary instead of fresh?
Yes, you can substitute with 1 teaspoon of dried rosemary if fresh is not available. However, fresh rosemary yields better flavor.
How do I know when my bread is done baking?
The bread is ready when it turns a deep golden brown and sounds hollow when tapped on the bottom.
Is this bread suitable for freezing?
Absolutely! You can freeze Rustic No Knead Rosemary Garlic Bread for up to three months without losing its deliciousness.
Can I customize this recipe?
Yes! Feel free to add other herbs or spices according to your taste preferences, making it uniquely yours.
Final Thoughts
Rustic No Knead Rosemary Garlic Bread is not only easy to make but also versatile enough to complement various meals. Its wonderful aroma and flavor will fill your kitchen with warmth. Try experimenting with different herbs or add-ins based on what you love!
Rustic No Knead Rosemary Garlic Bread
Indulge in the delightful experience of baking Rustic No Knead Rosemary Garlic Bread—an artisan-style loaf that combines the fragrant flavors of fresh rosemary and garlic. This bread features a crusty, golden exterior and a soft, chewy interior, making it an irresistible addition to any meal or occasion. With only five minutes of hands-on preparation time and no kneading required, this recipe is accessible for bakers of all levels. Perfect for family dinners, cozy gatherings, or simply enjoyed on its own, this easy rustic bread will quickly become a favorite in your kitchen.
- Prep Time: 5 minutes
- Cook Time: 40 minutes
- Total Time: 45 minutes
- Yield: Approximately 8 servings 1x
- Category: Bread
- Method: Baking
- Cuisine: Artisan
Ingredients
- 3 cups all-purpose flour
- 3 cloves garlic, minced
- 1 tablespoon fresh rosemary, finely chopped
- 1 1/4 teaspoons kosher salt
- 3/4 teaspoon freshly ground black pepper
- 1/2 teaspoon instant yeast
- 1 1/2 cups room temperature water
- Cornmeal for dusting
Instructions
- In a mixing bowl, combine flour, minced garlic, rosemary, salt, pepper, and yeast.
- Stir in the water until a sticky dough forms. Do not overmix.
- Cover with plastic wrap and let rise at room temperature for 18-24 hours.
- Preheat your oven to 450°F. Prepare a cast iron skillet by greasing it lightly and sprinkling cornmeal.
- Shape the dough gently on a floured surface into a round loaf and transfer it to the skillet.
- Allow it to rise again for about 2 hours until puffy.
- Bake for 30-40 minutes until golden brown and hollow when tapped.
- Cool before slicing.
Nutrition
- Serving Size: 1 slice (60g)
- Calories: 150
- Sugar: 0g
- Sodium: 200mg
- Fat: 0.5g
- Saturated Fat: 0g
- Unsaturated Fat: 0.5g
- Trans Fat: 0g
- Carbohydrates: 31g
- Fiber: 1g
- Protein: 4g
- Cholesterol: 0mg